
Editor’s Note: There are lots of great things that have contributed to Nashville’s #itcity status over the years, but we’re pretty sure our mass transit isn’t one of them. We’re not gonna lie: It’s not perfect, but it’s getting better as things like bus GPS data, queue-jumping, and free transfers hit the scene.
With 80 people (and their cars!) moving here every day, we find ourselves scrambling for some different ways to get around that don’t involve hours sitting in #itcity traffic, shelling out $25 to park downtown, or 200% Uber surge fares. With a little bit of know-how and some careful planning, if you’re lucky enough to live or work along a route, the bus can be a great option.
Nashville MTA estimates that only about a third of their riders take the bus because they want to, rather than because they have to. In this series, we turn to one of those riders to learn how it all works.
Nashville, Meet Your Metropolitan Transit Association (MTA)
Nashville’s city buses run on 50 routes (10 of which are express, meaning they use the interstate and make fewer stops), all originating from the Music City Central (MCC) at the corner of 5th Avenue and Charlotte. Every route is a loop starting from the MCC out to a particular point and back downtown. You’ll sometimes hear people refer to this as a “hub and spoke” system–not many of the routes cross over one another.
First things first: Get an app
In the olden days before we were fancy enough to track buses via GPS, the only way to travel by bus in Nashville was to learn the schedule from the small paper booklets for each route.
Now, we have some much better options: The Nashville MTA has its own app called Music City Transit Tracker, which I’ve found to be pretty clunky. I prefer Transit, for several reasons:
- It is universal, meaning it’ll work in New York and Chicago just as well as in Nashville.
- You can save frequent destinations, so getting from place to place takes fewer steps.
- It offers “GO”, which handles the timing for trips with multiple routes with a countdown clock.
- While you’re on the bus, it can send you a push notification when your stop is coming up. Magic!
- It has several smart features, such as adjusting your itinerary when you’ve walked to a different stop or picking the next available connection when it suspects you might miss yours.
Both apps will let you put in your current location and a destination to pick the route(s) you should use. This takes a lot of the guesswork out of planning your trip.
Finding your stop and flagging down the bus
Once you’ve figured out where to catch the bus, the next step is getting to the stop. All of the bus stops are marked with blue signs, and not all of them have benches or shelters. Stand near the sign and pull up the app to find out where your bus is.
If you’re trying to catch a bus at the main bus terminal downtown, Music City Central, bays 13-24 are downstairs off 4th Avenue and typically head towards East Nashville. Bays 1-12 are upstairs off 5th Avenue and head out west and south.
Once you see the bus, just standing near the sign should be enough for the driver to know to stop for you. If it’s dark outside or I don’t think they can see me, I’ll wave an arm near the sign. There’s no need to step out in traffic–You know that expression, “What if you were hit by a bus?” Yeah, don’t do that! And watch your feet: Most of the buses are “kneeling”, meaning that the bus will lower its step a bit so it is easier to board. Let other passengers off before getting on.
Payment and fares
There are three types of types of routes:
- Local ($1.70/trip) – Your standard bus route. These buses will run on surface streets and stop at every blue sign along the route as needed.
- Bus Rapid Transit Lite (BRT Lite) ($1.70/trip) – A bit faster of a route because it stops at fewer places. These routes shadow a Local route, but will only stop at specially designated BRT stops. It may mean walking quite a bit farther to get to your destination if you’re not careful.
- Express ($2.25) – The fastest routes to the outskirts of the county. These buses will take the Interstate once they leave downtown to get to their local routes.
I’d recommend getting a fare card (we’ll talk about how to do that later), but if you’re using cash, try to have the correct change available. The fare box (located right in front of you as you step on to the bus) will accept coins as well as bills up to $20. If don’t have correct change, the box will give you your change in the form of printed bus card. You can use these to reduce your fare for your next ride.
Where to sit
It really isn’t important where you sit, though I’ll wait towards the front of the bus if it’s a short trip and sit further back if I expect to be on it for a while. The very front seats (with their backs to the window) are reserved for older folks or people in wheelchairs. You can sit there, but be ready to hop up if one of those folks gets on. If you happen to be in a wheelchair yourself, the driver will extend the bus’s ramp and assist with securing you chair with straps.
Getting off the bus at your stop
You’ll need to signal to the driver that you want off at the next stop (the bus won’t stop unless somebody needs off or there is somebody waiting at the stop). Pull the wire located along the windows near your seat soon after the bus has passed the stop right before the one you want. This is important, as pulling the wire when the bus is already to your desired stop may mean the driver will miss it and drop you off at the next one.
If you’re getting off at the Music City Central, there is no need to pull to request a stop; everybody is getting off the bus there anyway. You can exit the bus at the front or in the middle. If there are other passengers boarding at your stop, it is usually a better idea to go to the middle door instead.
About the fare cards
Having cash or change cards to ride the bus is a pain. The MTA does offer pre-paid cards for sale at Music City Central. The trouble is that you have to get downtown in order to buy them. There are kiosks on the lower and upper levels of the Music City Central, but the credit card reader is pretty hit-or-miss. If it doesn’t work, you’ll have to go to the Customer Service window on the second level across from the escalators.
The full list of fares can be found on MTA’s website, but here are some of the more popular ones:
- 20 Ride Local ($32) – Unless you live on an express route or are guaranteed to ride the bus several times a day for a week or month, I would recommend buying this one. You save $0.10 a ride buying this fare card.
- 20 Ride Express ($42) – Same as the local, but at Express pricing. You can upgrade a Local ride to Express for $0.50, so only useful if this is the only bus route you take.
- All-Day Pass ($5.25) – You would need to make more than three trips a day for this to be more cost effective than the 20-Ride Local.
- 7-Day Pass ($24) – You would need to make more than 15 trips a week for this one to be more cost effective than the 20-Ride Local.
- 30-Day Pass ($84) – You would need to make more than 53 trips a month for this one to be more cost effective than the 20-Ride Local
If you’re a Senior or under 19, you’re in luck! Check the fare page for some available discounts.
You will see some folks that swipe or tap a card. These folks likely work for Vanderbilt, the State of Tennessee or have employers participating in the EasyRide program. They could also be students at a K-12 school, so they get to ride for free with their student ID.
I hope this helps explain a bit about using the bus system in Nashville. This guide is based on my experience using the bus to get to and from work in the downtown area, and all around town. Have some tips for using the city buses? Share them in the comments!
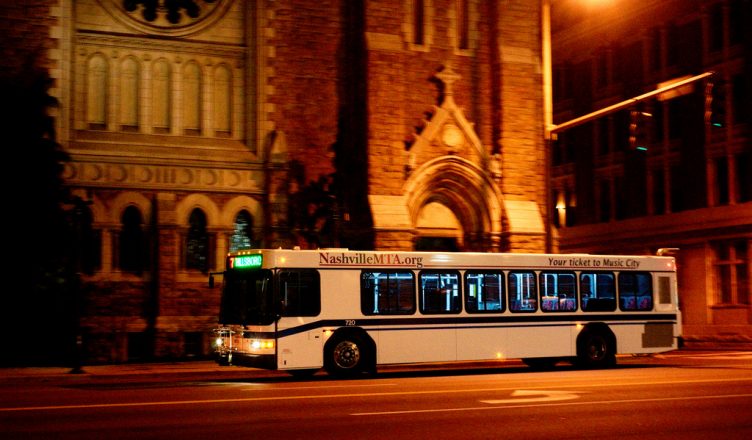
Photo by Chris Wage.